REVIEW · SYDNEY
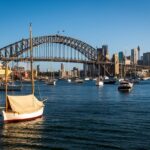
Jervis Bay, Kiama & Kangaroo Valley Day Trip From Sydney-PVT
Book on Viator →Operated by King of Tours · Bookable on Viator
Kiama to Jervis Bay is a big stretch of coast in one day. What makes this tour stand out is the private, group-only setup with pickup from your Sydney area, plus a tight run through the highlights: Kiama, Huskisson, Kangaroo Valley, and the Sea Cliff Bridge return route.
I also like the practical onboard touches for a long day—air-conditioning in the bus, WiFi, bottled water, and coffee or tea. You’re not stuck rushing without comfort while you wait for the ocean to do its thing at Kiama and for photo stops along the way.
One thing to watch: parts of the plan involve stops where admission isn’t included, so you may want some cash/card ready. Also, because the day is built around multiple viewpoints and quick visits, it can feel different from what some people expect if they’re hoping for a specific order or extra time at any one place.
In This Review
- Key things to know before you go
- A South Coast Power Trip: Kiama, Jervis Bay, Kangaroo Valley
- Price and What You’re Really Paying For
- How the Day Runs from Sydney (and Why It Feels Long)
- Kiama Blowhole First: Timing the Ocean Spray
- Jervis Bay and Huskisson: White Sand Plus a Real Lunch Break
- Kangaroo Valley: A Calm Inland Reset at Hampden Bridge
- Sea Cliff Bridge and Grand Pacific Drive on the Return
- Bald Hill Lookout and the Hang Gliding Spot: Quick Views, Strong Impact
- Flexibility Matters: When the Day Can Change
- Comfort and Small Perks That Actually Help
- Who This Trip Suits Best (and Who Might Feel Crowded)
- Should You Book This Tour?
- FAQ
- How long is the Jervis Bay, Kiama & Kangaroo Valley day trip from Sydney?
- Is this tour private or shared?
- Does the price include admission tickets?
- Are hotel or pick-up options available in Sydney?
- What’s included during the day?
- Can I cancel for a full refund?
Key things to know before you go
- Private, group-only experience means you’re not competing with strangers for attention at each stop.
- Hotel-style pickup in Sydney saves time and stress versus finding a meeting point.
- Admission not included at key stops (like Kiama Blowhole and Sea Cliff Bridge areas) can add small costs.
- A long day, built for highlights: you’ll move quickly between coast and inland valley.
- Flexible itinerary by request can be helpful if your group wants to swap activities.
- Comfort matters: AC vehicle, bottled water, and WiFi help on a roughly 11-hour outing.
A South Coast Power Trip: Kiama, Jervis Bay, Kangaroo Valley

This is the kind of day trip that feels like you’re getting several different New South Wales moods in one go. You start on the coast with Kiama’s famous spray, then shift to Jervis Bay’s white-sand shoreline around Huskisson. After that, you head inland to Kangaroo Valley for a calmer, greener break before returning along Grand Pacific Drive with a signature bridge stop.
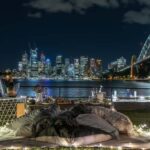
The value here isn’t just geography. It’s pacing plus convenience. In an 11-hour day (including the drive time from Sydney), you’re not left figuring out routes, parking, or timing between far-flung stops. You just show up, follow the plan, and use your time where it counts—lookouts, short walks, and quick local breaks.
If you’re traveling with kids, this “highlight loop” can be easier than trying to build your own itinerary. Short blocks at several places beat one long, exhausting attempt to do everything independently.
You can also read our reviews of more tours and experiences in Sydney


Price and What You’re Really Paying For
At $357.90 per person, this isn’t a cheap sampler. So the key question is whether you’re buying convenience and flexibility—or just paying for a bus ride.
You are paying for:
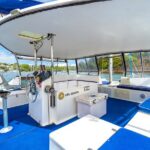
- Private transportation in an air-conditioned vehicle
- Pickup offered (instead of rolling up to a generic meeting spot)
- Bottled water + coffee/tea during the day
- WiFi on board (handy when you’re waiting between stops)
- A full day that strings together multiple destinations without you doing the logistics
Where the math can work best is when you care about time. Driving yourself from Sydney to the South Coast highlights takes planning and real effort. If you’d otherwise spend that energy on routes, parking, and deciding what’s worth it, a guided day starts to look more reasonable.
The only pricing “gotcha” is that some admissions are not included. Kiama Blowhole and the Sea Cliff Bridge area, plus the Bald Hill lookout/hang gliding spot, list admission tickets as not included. Those are usually small add-ons compared with the whole price, but they’re still worth budgeting for so the day feels smooth.
How the Day Runs from Sydney (and Why It Feels Long)

Expect a long day: about 11 hours total. The itinerary blocks on the ground add up to a few hours of stop time, while the drive is the big chunk. The tour notes that 5 hours and 15 minutes is accounted for as travel time, specifically considering the Sydney-to–Jervis Bay span.
That matters because you won’t have the slow, wandering pace you’d get if you stayed overnight. This is a “see it, enjoy it, move on” plan. The stops are timed so you get the main sights without running late for the return.
Practical tip: pack for a warm morning and cooler coastal wind. Coastal spots can feel cooler even when inland is warm. And because you’re moving between coast and valley, layers are the easiest win.
Kiama Blowhole First: Timing the Ocean Spray

Kiama Blowhole is a classic for a reason. Under the right conditions, water gets forced upward in dramatic bursts, sometimes reaching heights as high as 30 meters—and that’s the kind of moment you can’t replicate on a photo alone.
You’ll have about one hour here. That’s enough time to get your bearings, take photos from a couple angles, and still have time to stroll the coastal town area if the weather cooperates.
What’s important for planning: admission for this stop is not included, so you’ll want to treat the Blowhole as a paid feature, not a free viewpoint. Also, conditions can affect how impressive the show is. Even if the spray isn’t at its most intense, the coastal setting around Kiama still gives you a solid waterfront start to the day.
Possible drawback to keep in mind: because this is an early highlight, you’ll want to be ready to go with whatever energy you have left after pickup. If you’re sensitive to early starts, plan to treat the day like a full-day excursion, not a late-morning outing.
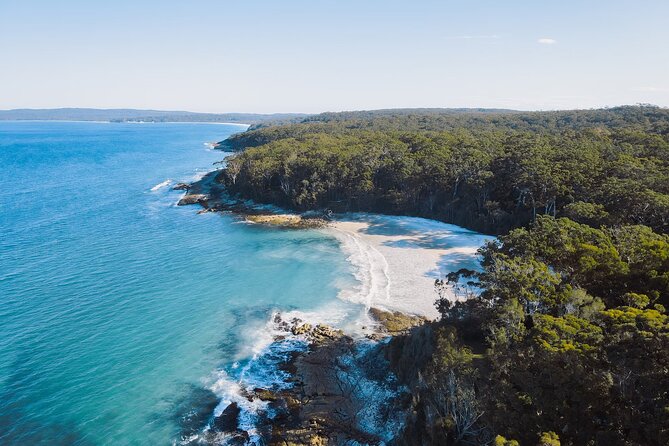
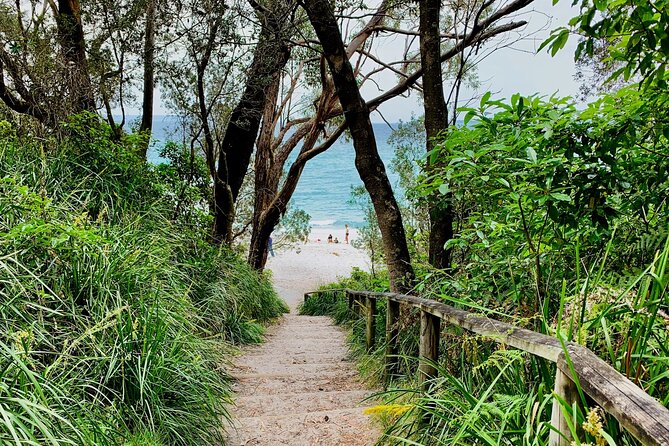
Jervis Bay and Huskisson: White Sand Plus a Real Lunch Break
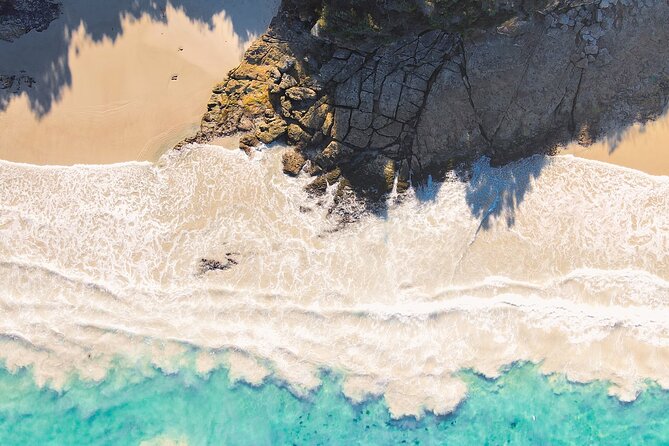
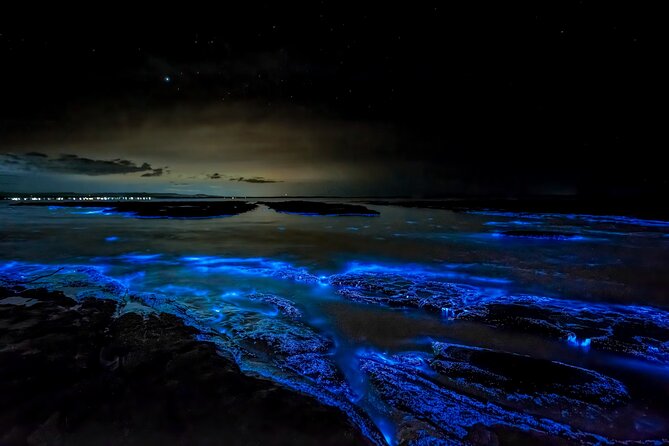
Next you head toward Jervis Bay, aiming for pristine beach vibes and a chance to enjoy the area around Huskisson. The tour describes Jervis Bay for its white sandy beaches and plenty of marine life, and you’ll spend around two hours in this part of the day.
You’ll stop at Huskisson for a quick lunch at the marina area before continuing the sightseeing blocks. This is smart timing. It helps you avoid the common problem of reaching Jervis Bay hungry, stressed, and trying to make decisions fast.
Here’s how I’d use this stop to get better value from your limited time:
- If the weather looks good, spend your time closer to the waterfront rather than trying to “drive by” beaches.
- If it’s breezy, focus on short walks and viewpoints where you can keep moving and stay comfortable.
- If you’re traveling with kids, this is where you can balance energy: quick lunch, then a manageable beach moment.
Admission for this segment is listed as free, so the main costs here are whatever you choose for lunch and any personal shopping.
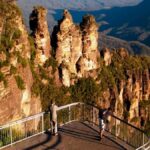
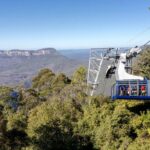
- Blue Mountains Small-Group Tour from Sydney with Scenic World,Sydney Zoo & Ferry
★ 5.0 · 3,709 reviews


Kangaroo Valley: A Calm Inland Reset at Hampden Bridge
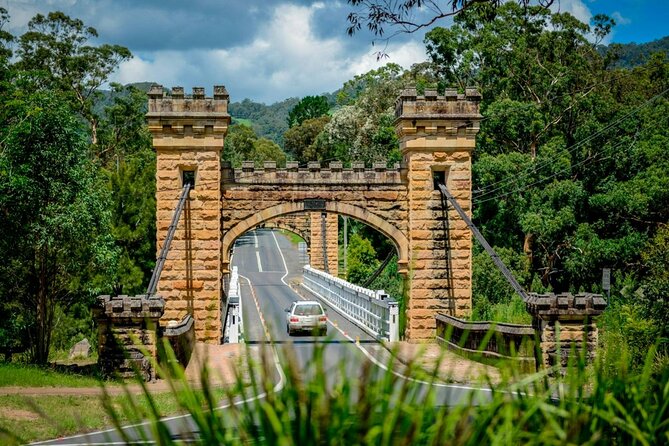
After the coast, the day turns inland to Kangaroo Valley, known for rolling hills, lush greenery, and a charming village feel. You get about one hour here, plus time for a key landmark: Hampden Bridge.
This is the stop that helps the day feel less like a rushed checklist. It gives you a different view of the region—less ocean drama, more countryside calm. For many people, this inland shift is the moment where the day finally feels like a proper break rather than nonstop driving.
What you’ll likely enjoy most in that hour is simply the ability to breathe and reset. Take short walks if you want them, get some photos from the bridge area, and enjoy the slower rhythm.
If you’re the type who wants long stays, one hour might feel short. But for a day trip that also includes Kiama and Jervis Bay, it’s a reasonable compromise.
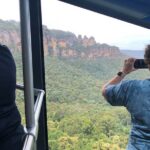
Sea Cliff Bridge and Grand Pacific Drive on the Return
On your way back, you’ll drive along Grand Pacific Drive, a coastal route built for views. This is where you get the “drive-and-look” moments that make a road trip feel like an experience, not just transport.
A key photo stop is Sea Cliff Bridge, with admission tickets again listed as not included. The bridge is a standout sight, and even with limited time, it gives you a strong sense of the dramatic coast you’ve been driving past.
You’ll have around one hour for this stretch, including the driving time within the itinerary and your bridge stop.
A practical consideration: because you’re returning to Sydney, you may want to keep an eye on the weather. Wind and cloud cover can change how good the photo conditions are. The views are still worth it, but you’ll appreciate the stop more when visibility is clear.
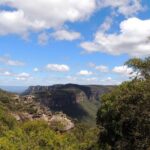
Bald Hill Lookout and the Hang Gliding Spot: Quick Views, Strong Impact
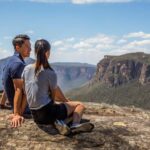
The final viewing stop is Bald Hill Lookout, paired with the hang gliding area. You’re told it’s about 45 minutes, and the focus is on sweeping views over the Illawarra region.
This is a good final act stop. It breaks up the long ride back with an easy “get out, look around, take photos, then back in the vehicle” format. Even if you don’t care about hang gliding itself, the viewpoint can be worth the effort because it gives you a broader sense of the region beyond the coast.
Admission is again not included, so plan for any small ticketing that may apply at the lookout/hang gliding viewing area.
If you’re someone who hates tight timetables, this stop is one of the more forgiving ones because it’s short and flexible. You can do a quick photo run and still feel satisfied.
Flexibility Matters: When the Day Can Change
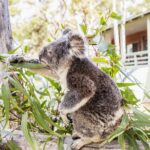
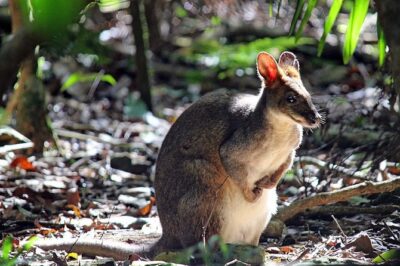
One of the most useful pieces of information from feedback is that the tour can adjust based on requests. In at least one case, the itinerary was changed to include Featherdale Wildlife Park because the group wasn’t happy with the original plan.
That tells me two things about how this tour works in the real world:
- The private setup gives your day more room to shift than a fixed group bus.
- If you have a strong preference—especially for family-friendly wildlife options—you should say so clearly early.
What I’d do: decide your must-haves before pickup. If you’d like a swap, ask early enough that the guide can still make the schedule work. With an 11-hour total day, you can’t expect huge changes late in the trip.
Comfort and Small Perks That Actually Help
This tour includes the stuff that makes long days easier:
- Bottled water
- Coffee and/or tea
- Air-conditioned vehicle
- Private transportation
- WiFi on board
WiFi won’t replace good time management, but it can make waiting moments less annoying—especially when you’re between stops. The water and coffee/tea are also not just nice extras. They reduce the temptation to burn time searching for a café or paying premium prices every time you’re hungry or delayed.
If you get motion sickness easily, you’ll still want to bring whatever helps you normally. The data doesn’t specify anything beyond an air-conditioned vehicle, but in practice, a smooth ride and AC can make a difference.
Who This Trip Suits Best (and Who Might Feel Crowded)
This day trip fits best if you want:
- A structured highlight loop from Sydney
- A comfortable way to see several key South Coast areas without planning
- A mix of coast + inland valley in a single outing
- A private group setup where attention can focus on your needs
It’s especially good for families who want to keep kids engaged across multiple short stops, and for nature lovers who don’t want to commit to an overnight stay.
Who might feel less happy:
- Anyone who expects long, slow beach time at one location.
- People who hate paying extra for paid attractions at certain stops.
- Those who want a very specific experience order. The plan is set, and while it can adjust, it’s still a full-day schedule.
Should You Book This Tour?
I’d book this if you want an efficient, guide-led South Coast day and you value the convenience of pickup plus private-group time. The combination of Kiama Blowhole, Jervis Bay, Kangaroo Valley, and a return drive with Sea Cliff Bridge makes sense for first-time visitors who want the big hits without building logistics.
I’d hesitate if you’re very sensitive to admission add-ons or if your ideal day includes long stays in just one or two places. Also, if you have a must-do activity, think about how you’d request a swap early enough to protect the schedule.
If you’re flexible, comfortable with a long day, and you like the idea of seeing several distinct NSW regions in one push, this tour offers solid value for the convenience you’re buying.
FAQ
How long is the Jervis Bay, Kiama & Kangaroo Valley day trip from Sydney?
The tour is about 11 hours (approx.), including drive time from Sydney. Travel time is noted as 5 hours and 15 minutes, accounting for the Sydney to Jervis Bay route.
Is this tour private or shared?
This is a private tour/activity, meaning only your group participates.
Does the price include admission tickets?
No. Admission tickets are listed as not included for some stops, including Kiama Blowhole, Sea Cliff Bridge, and Bald Hill Lookout/Hang Gliding spot. Jervis Bay and Kangaroo Valley stops are listed as free.
Are hotel or pick-up options available in Sydney?
Yes. Pickup is offered, and the tour includes private transportation.
What’s included during the day?
The tour includes bottled water, coffee and/or tea, an air-conditioned vehicle, private transportation, and WiFi on board.
Can I cancel for a full refund?
Yes. You can cancel up to 24 hours in advance for a full refund.
You Might Also Enjoy


More 1-Day Tours in Sydney

More Tour Reviews in Sydney
- Blue Mountains Small-Group Tour from Sydney with Scenic World,Sydney Zoo & Ferry
★ 5.0 · 3,709 reviews